![]() | |
final render |
Friday, 9 December 2011
bin demo
partical fire
![]() |
final render |
mental ray demo
in this demo we made a room with a glow on the window and a light that pass's though and bounces of the walls and casts shadows from the lights to make a half realistic scene. To do this we made a cube and cut 2 holes in it to make a window and then flipped the normals with the normals tool. then we added a skylight so that the whole scene was light up and mr sky portals to direct that light into the window then we made a mr spot light to add rays of light in to the window and a glow on to the sky portals to add a little realism to the scene. we then added a camera into the inside of the room so that we could get a better render. then we started to add in textures to the scene we started with a arch and design material and added a concrete texture into the diffuse and then added a noise map into the bump channel to add the effect of holes in the concrete.
![]() | |
final render |
![]() |
concrete texture |
glass/diamond mental ray texture
![]() |
final render |
demo reference image clean up
![]() |
final render |
![]() | |
reference image |
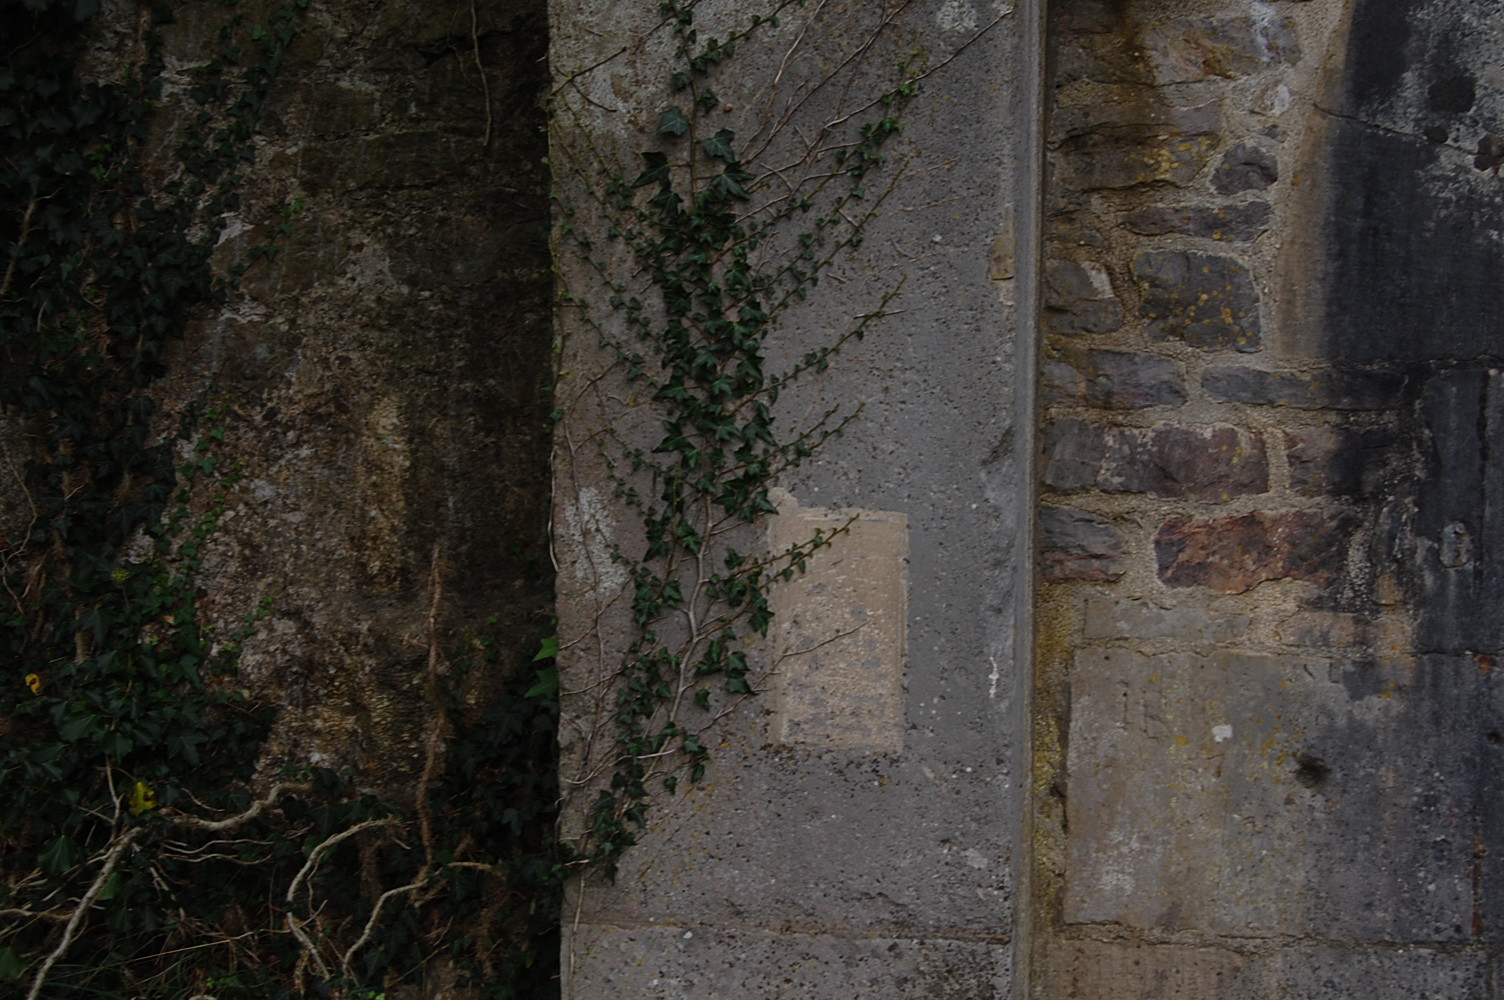
brick texture for street
this is my one of my final brick textures for my street for the red bricks it is made with a image of a brick wall as the defuse to give it the colour of the brick wall and the a displacement map to give it deformation this to make the bricks stand out from the masonry and then a bump map to cast shadows in the right places on the texture
displacement and bump map this on the displacement channel makes the white go up and the black go down so that the bricks look like they have been modelled on the bump map channel effects the light to give the impression of shadows so that the image pops and has more realism.
![]() |
final texture |
![]() |
displacement effect |
![]() |
displacement map |
![]() |
diffuse map |
Thursday, 13 October 2011
reference images for my street
i will use this make this image in to a good texture for a realistic brick wall i will use this as reference to make the texture that i am making seem more real.
for this image i will take the brick arch at the top to make a replica of the torri gates in japan but make it in my own style and make the arch into a wodden one and add more of them as a hangging garden from above
this image i am going to use to make my own grass texture
this image i was going to use to have places you cant go but there is a image in the background that you can see to add a little bit more depth to the piece.
i going to use this image as a reference becouse i would like to hide little things around the scene like the man on the building.
for this image i was going to take the anchor as a texture and sculpt it into a building with mudbox.
this i thought had some great things i could use going on inside of it becouse it is a stone wall with vines wrapping around it i would like to add things like this in to my scene
this i would allso like to use as a stencil and add in to the scene on a building of sorts
this i thought could be used as on a pavement instead of the little dots
i wish to add this stone man into the scene as a guard of sorts
this image i thought would make a nice noise texture so i dont have to use the filters in photoshop.
this has a nice vine on the stone and stands out nicely and would be nice to use as a stencil in mudbox
same as above
this i was going to use to make my own texture of rotten or old wooden planks
this image is so i dont have to use a photoshop filter to render clouds making it more my own work
same as above
same as above
this image has some nice ornate crowning i thought was nice and if it could fit in i will use it if not it will make a nice stencil for future reference.
a nice usefull image of clouds again.
statement of intent
for my street i am planing on making a street with trees like a american suburb with trees around along a road with houses that look similar ad white picket fences to do this i will use photographic visuals and then model them in to objects for the scene.
Friday, 30 September 2011
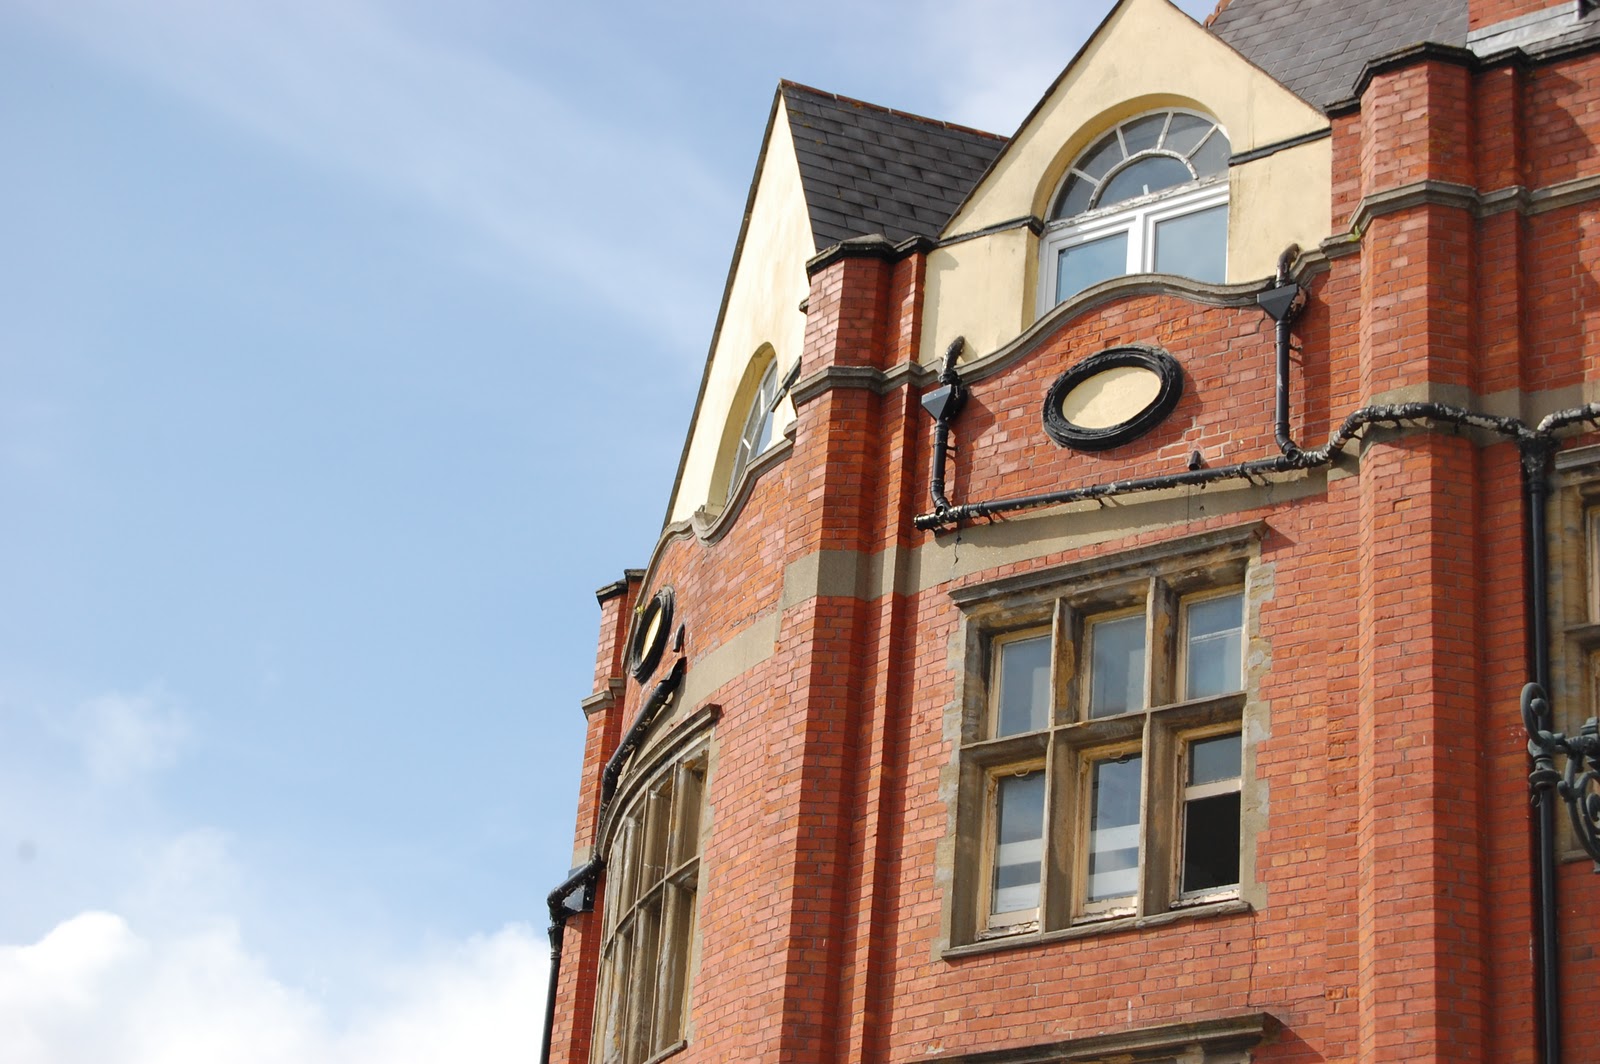
reference photos
today we made a reference photo by taking out all the lens distortion with the skew tool and the took out everything that is in front of the house because it is in the way and is made after the house and you cant see what is behind so i used the spot heal tool to get rid of the lamppost and singes in the way and recreated a repesatation of what is behind is by useing the textures from around the house then i took out a window with the same proscess and the i used a texture i had made to add a brick finish to the building.
my version
orignal
my version
orignal
Friday, 23 September 2011
3d crate
this lesson we made a crate we started out in max and made a box then we selected all of the polygons and used the inset tool and then changed the by type to polygons then we extrude it by group then made it -1.7 then i went and added a uvw unrap modifier to it and then took the parts you couldn't see the squares in the centrer and scared them in the uv space so that i could see them then i took the edges around the out side of the inside polly and scaled them so they were seen then i saved the uvw map and then rendered it out and opened it in Photoshop so that i could add a texture to the map i then added a wooden plank texture to the crate and then added a splat texture to it for a little fun then i saved it out as a jpeg because the psd wast working inside max then i opened up max and added in the texture to the diffuse channel of the crate to give it the texture.
pictures for reference
I like this image because it is huge and high-resolution and I can take a texture of the tree to make a nice wood texture for a tree or something with bark still on it.
i can use this image this image to get a good image for a stone rendered wall or a noise texture for other things
this image is a good image of a brick wall witch meeds to be cleaned up a little so it looks nice and then use lighting effects to add a little depth to the image.
this is a good image for shadow reference so i know when our are looking up at a window were the shadows should fall on the image to make my work seem more real.
this image I would like to use as a reference image to model the building on because the building is a nice one and it looks old and has a nice windows.
same as above but it has a nice image of clouds i can use for sky replacements or when i have to render a cloud
i took this image because it has a nice mouldy yellow paint at the top of the image.
this image below is a common thing in streets and it is a easy thing to model and has a nice pink line on top witch has a very noisy finish to it.
Subscribe to:
Posts (Atom)